

Freediving is not as complicated as it looks. It all comes down to a handful of simple but interesting and useful concepts that all work together to relax the body, improve how efficiently oxygen is used, increase how long you can hold your breath, and ensure you do it all safely.
Freediving is one of the fastest and most efficient ways to utilize your breath-holding abilities, and as it has been practiced for several years now, much like any sport, it can be learned and experienced to its fullest potential once you’ve mastered the basics.
Breath holding has to be the main concern for most freediving beginners. As most of us don’t really have the capacity to do this for a long period, sometimes, people fail to experience freediving in its full adventure potential. But do not fret, because this article will teach you some of the most powerful breathing techniques used by freediving experts in order to prepare you for your next freedive.
So if you are planning to go on another freediving adventure, be sure to keep these techniques in mind to become more efficient at staying calm, relaxed, and excited for this thrilling adventure!
Mammalian Dive Reflex
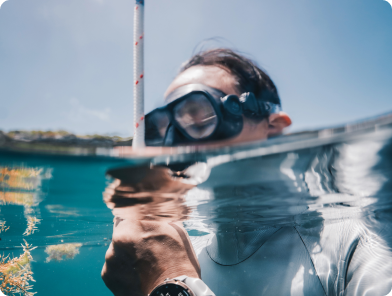
The mammalian dive reflex is a physiological response that is triggered by the exposure of the face and nostrils to cold water. This response is manifested through a slowed heart rate and raised blood pressure and causes the body to use oxygen more efficiently and sparingly. These reactions give mammals, dolphins, whales, sea lions, and even humans the ability to stay underwater for much longer than they would on dry land, allowing them to survive longer on a single breath.
Exposing the face and nostrils to water, especially chilled water, elicits this response gradually, increasing with longer exposure.
Focused breathing warm-up

When doing these exercises, you can lie down or sit down.
Diaphragm breathingFocus on expanding your belly as you inhale and bringing your belly back in towards your spine as you exhale. Your ribs and chest should stay still. Imagine air filling your lower belly. Practice this breathing for 1 minute.
Intercostal or rib breathingThink about moving your breathing action to your lower rib cage. Keep your chest and belly still, but expand your ribs sideways to breathe. One trick is to hook your thumbs on the side of your ribs and place your fingers at the bottom of your breast bone. As you inhale and expand your ribs, your fingers should pull apart. Practice for 1 minute.
Chest and shoulder breathingNow focus on filling your upper chest with air. Your chest should expand forward and upward slightly as you inhale, whilst your belly and ribs stay still. Practice for 1 minute.
Pre-breathing and static “breath-holding”
Before doing this exercise, simply hold your breath once and record it. Ensure you’re lying down or seated so that you are as relaxed as possible to avoid any problems in case you black out or come out of the breath-hold a little light-headed. Don’t look at the watch during your breath-hold. Now record this time as a baseline to see how the breathing and breath-holding techniques that follow help you improve.
After this, relax for 4 minutes, then proceed with a proper pre-breath-hold breathing exercise.
Perform your apnea preparation breathing and try to hold your breath as long as possible after your last deep breath.
- Perform 2 to 3 minutes of relaxed, normal chest breathing while lying down in a relaxed position.
- Perform 4 to 6 deep, diaphragmatic belly breaths.
- Hold the final deep belly breath, breathing in as deeply as possible.
- Aim to hold your breath for at least 10 seconds after you feel the first contraction in your lungs due to the urge to breathe. If you can go further, try.
- As soon as you come out of the breath-hold, begin recovery breathing.
Rest for 4 minutes and continue with another round of pre-breathing—2 to 3 minutes of chest breath, followed by 4 to 6 deep belly breaths, and a final deep breath for the breath-hold. In this breath-hold, aim to go a little longer, focusing on lasting through more contractions during your urge to breathe.
Perform this several times a week and try to achieve two more contractions beyond your last breath-hold. Again, ensure you’re sitting or lying in a relaxed, safe position in the event that you black out. Perform your recovery breaths immediately upon coming out and of course record your time and the number of contractions you lasted through. This breathing exercise will help you improve and last longer once you dive underwater after a few weeks of practice.
Just keep on practicing these breathing exercises and you’ll be on your way to freediving town in no time! But apart from learning the effective ways on how to improve your lung capacity and help you hold your breath longer underwater, it is also important to note that in freediving, the only thing you can rely on is yourself.
That is why it is up to you to equip yourself with a reliable device that will track your time and stats and keep you safe while underwater. Remember that freediving is a sport filled with so many uncertainties, so you have to be ready for anything.

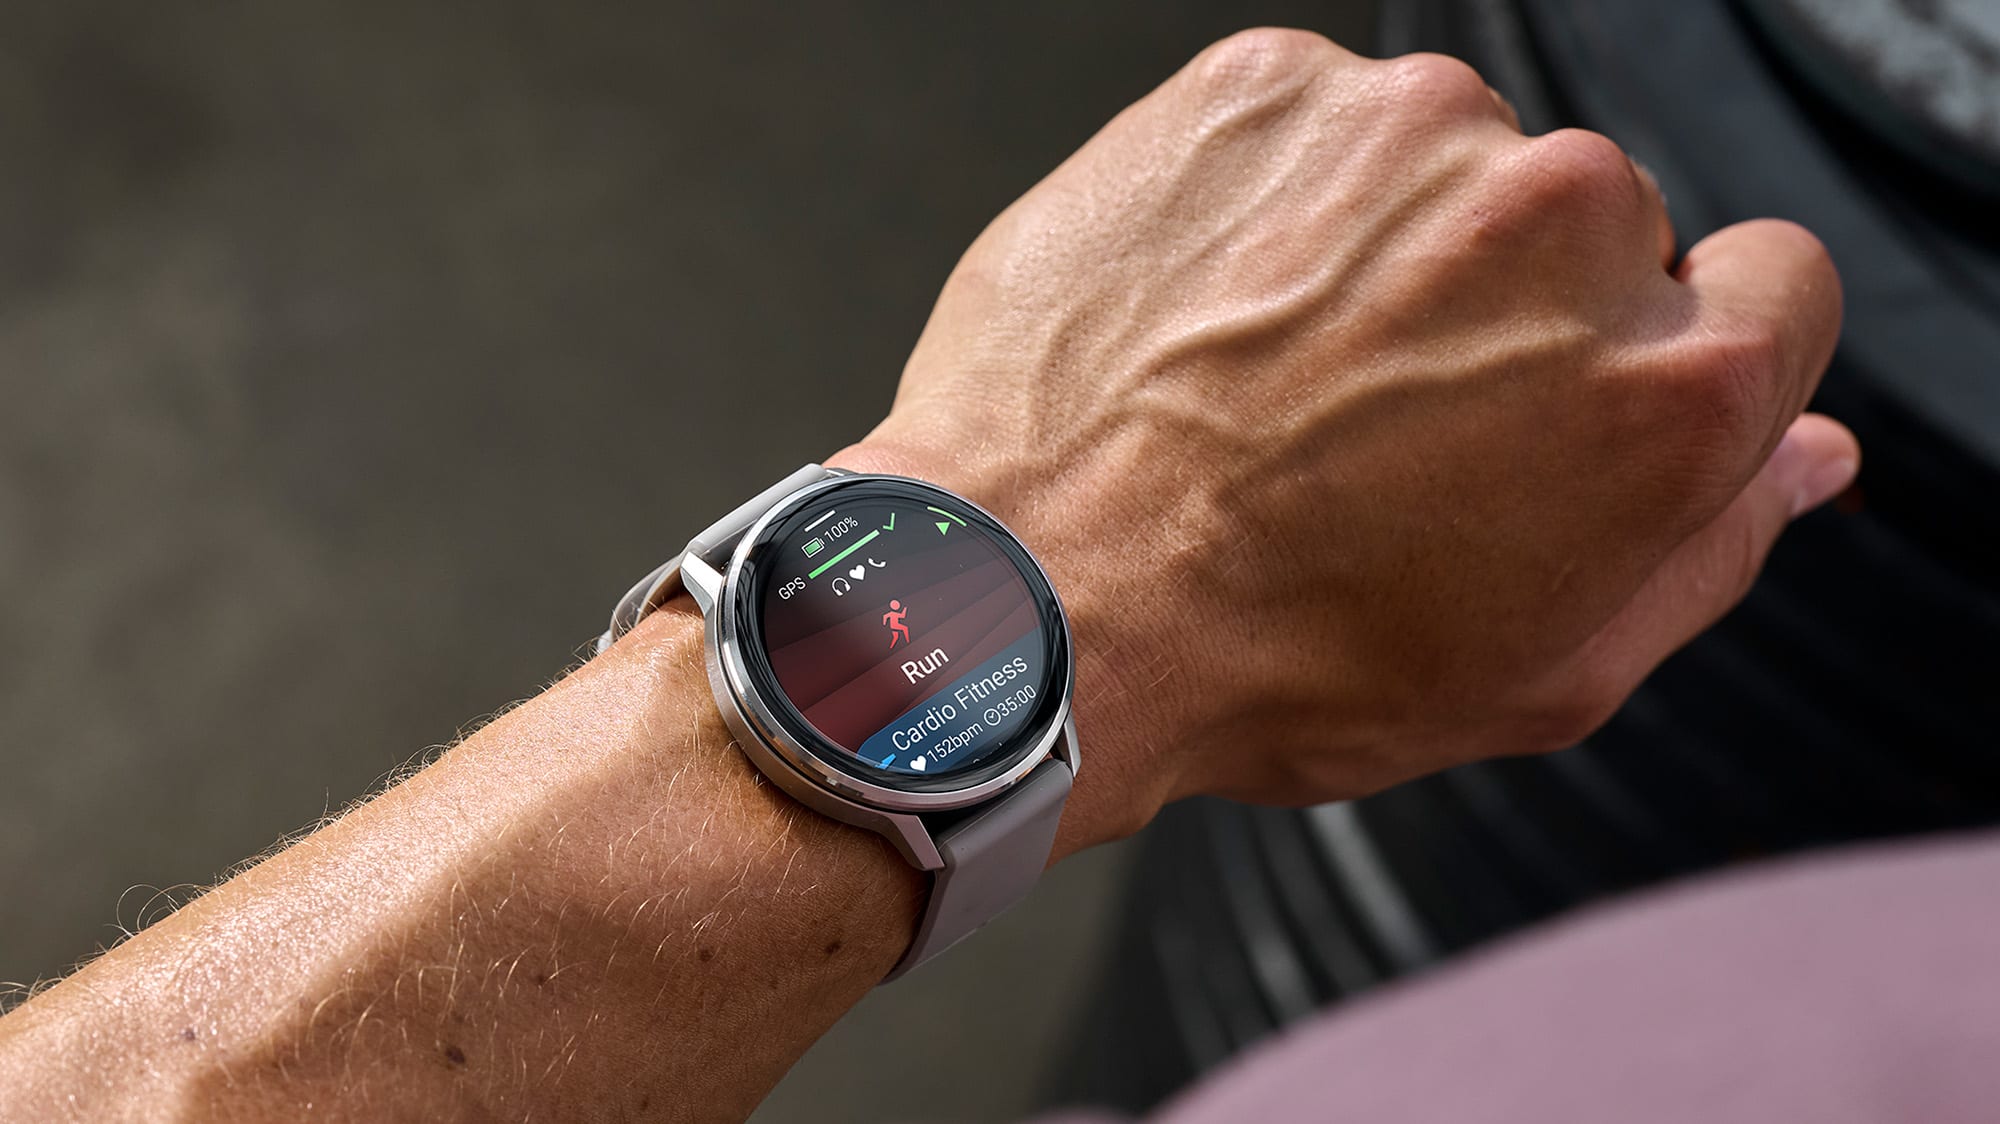
Garmin’s Descent G1 is the latest diving computer Garmin Philippines has to offer for freedivers like yourself. It comes with an advanced technology of multiple dive modes as well as a better guarantee of your dive safety by setting tone and vibration alerts for a full range of variables including depth, dive time, ascent speed, and decompression / safety stop completion.
This underwater gear is the perfect partner especially for those who are still beginners in the diving world. Built with a patented top-grade sapphire and high-transparency solar panels, this dive computer is not only wear-resistant and scratch-resistant but also maximizes the absorption area of the light source and converts solar energy into actual power with high efficiency. It boasts up to 25 hours of use in dive mode and unlimited power in power-saving mode.
The Garmin Descent allows you to explore both on and off the shore. No boundaries limit your exploration with this dive computer. Catch a wave on your surfboard in the morning and dive with sharks that afternoon. Any of these activities can lead to insights you may have never thought of, so it's important to be as safe as possible while pursuing your passions. With the Descent dive computer, you're always on the safer side of the water—because no depth is too deep for it!


Leave a comment
All comments are moderated before being published.
This site is protected by hCaptcha and the hCaptcha Privacy Policy and Terms of Service apply.